
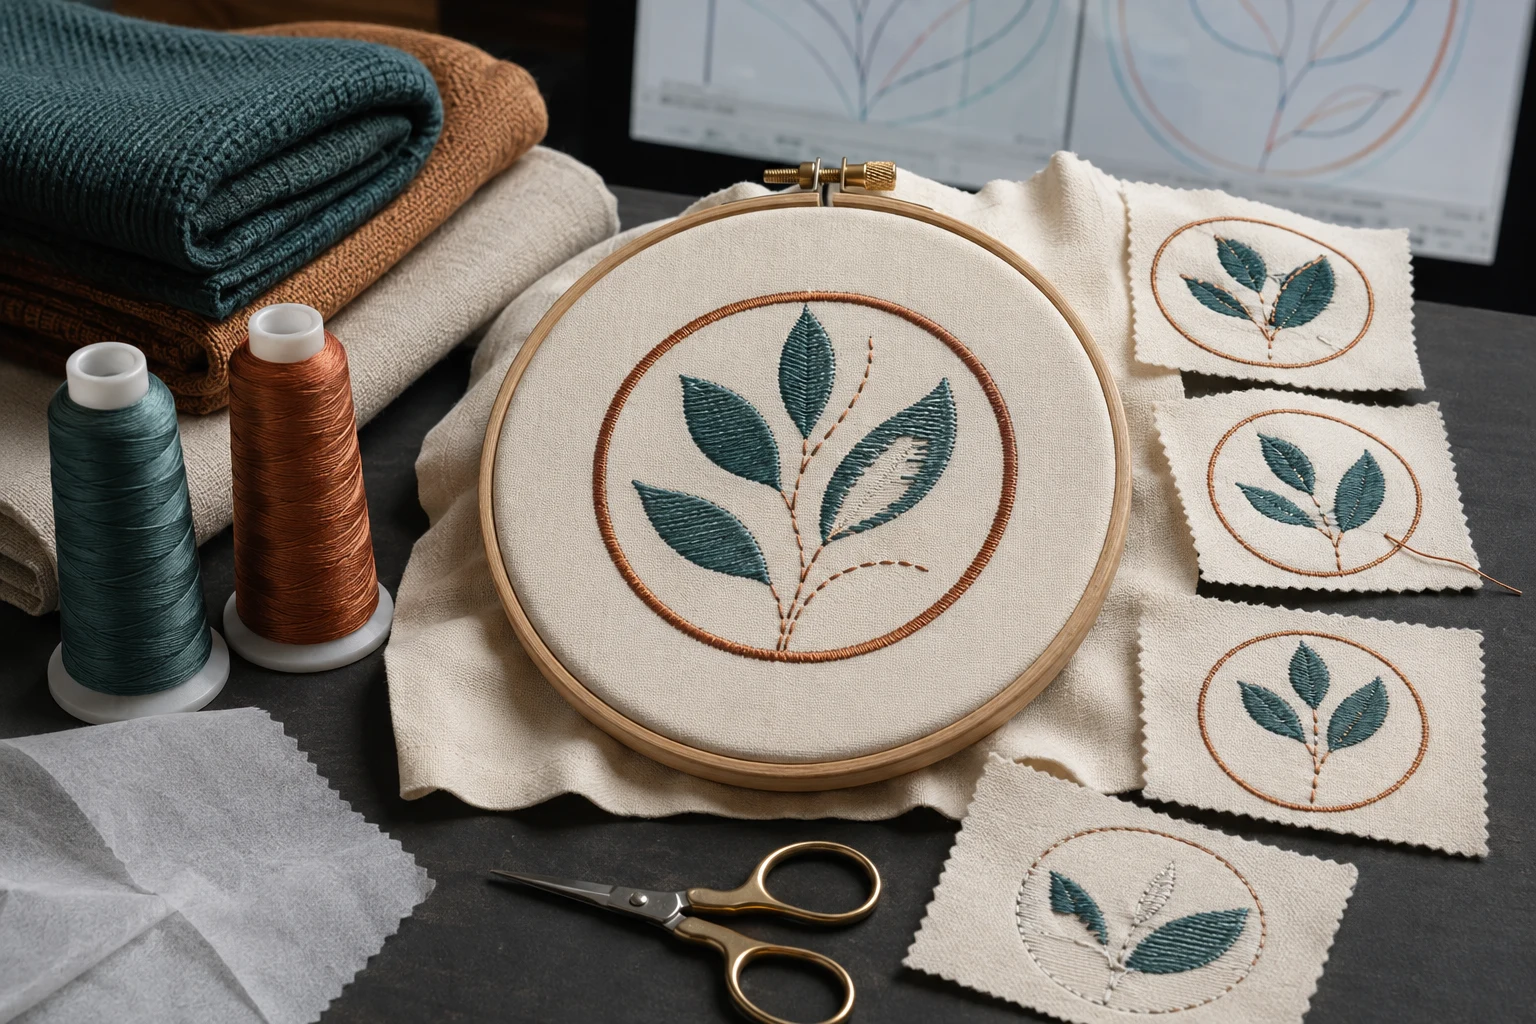
Cover image: AI-generated editorial concept; not a customer project or production proof.
The five common embroidery digitizing mistakes are choosing unsuitable stitch types, ignoring the fabric, planning poor stitch paths, confusing density with machine tension, and neglecting underlay. To avoid them, digitize for the finished size and material, review the stitching sequence, and test the file on a representative fabric sample before production.
Embroidery digitizing turns artwork into a planned sequence of machine stitches. A clean screen preview is useful, but the finished embroidery also depends on fabric support and machine setup. These five checks help both digitizers and buyers identify what needs attention before committing garments to a run.
1. Choosing the wrong stitch type
Choose stitches for the shape and its finished dimensions. Using one stitch type throughout a design can leave some elements poorly suited to their size or purpose.
Satin works well for narrow shapes and borders, with stitches spanning the shape’s width. Broad satin areas need particular care because long stitches can exceed machine limits or become vulnerable to catching. Review stitch lengths and splitting settings before accepting the result. Hatch’s satin fill guidance
Tatami fill uses rows of stitches to cover larger shapes. It is a practical starting point for broad areas that need coverage. Wilcom’s tatami stitch reference
How to avoid this mistake: inspect each element at its actual embroidery size. Review narrow borders separately from broad fills. If a detail looks crowded, discuss simplifying it or increasing the finished size before adding more stitches. Sew a sample to judge the result in thread.
2. Ignoring the fabric and its support
A design prepared for one material may need changes before it is used on another. Fabric-specific settings include underlay, stitch spacing and pull compensation—the adjustment used to account for fabric drawing inward during stitching. Wilcom’s fabric assistant changes these settings according to the selected fabric and object size. Wilcom’s fabric-setting explanation
For example, treat moving a design from a denim jacket to a fleece garment as a reason to review its settings. Keep the artwork, but assess how the new surface and construction affect the stitch plan.
Physical support also matters. Incorrect stabilizer, unsuitable needle and thread combinations, and fabric that is loose or overstretched in the hoop can contribute to puckering. Follow the machine’s instructions for the material and setup. Brother’s fabric and puckering troubleshooting guidance
How to avoid this mistake: give the digitizer the garment type, fabric composition, stretch, texture and intended placement. Confirm the stabilizer and hooping approach with the embroiderer, then test on the same material or a closely representative sample.
3. Planning poor stitch paths
Pathing includes the order in which objects stitch and how the machine travels between them. A design can look correct as a static image while containing unnecessary travel or an unsuitable layering order.
Start by checking which elements belong behind others. As a general rule, background objects should stitch before foreground objects. Grouping colors can be useful, but preserve the intended layering when changing the sequence. Hatch’s object sequencing guidance
Next, inspect entry points, exit points and connections. Connectors can be running stitches or jumps. Shorter connections can improve efficiency and reduce trims, but moving or resequencing objects may require those connections to be reviewed again. Hatch’s closest-join guidance
How to avoid this mistake: play the stitch simulation from beginning to end. Look for travel across exposed fabric, repeated movement between distant objects, and foreground details that stitch too early. Review connections after edits, then watch those areas during the sample run.
4. Confusing stitch density with thread tension
Density and tension affect the result, but they are controlled in different places. Density belongs to the stitch plan; thread tension belongs to machine setup.
Setting | What to check |
|---|---|
Stitch density | Review stitch spacing in the digitizing software for the intended coverage, fabric and object. |
Thread tension | Check threading and tension at the machine, following the model’s instructions. |
In Hatch’s tatami settings, a smaller row-spacing value produces greater density; a larger value creates a more open fill. Read the software’s units and definition before changing a value. Hatch’s density guidance
Do not automatically add density to close every gap. Stitch spacing, pull compensation and underlay work together to control coverage and shape. A gap may require a compensation or support adjustment rather than additional stitching. Wilcom’s underlay and pull compensation guidance
How to avoid this mistake: check machine threading, tension, stabilizer and hooping before assuming the file is responsible. If the setup is sound, inspect the affected objects in the file. Change one relevant variable at a time and compare samples so you can identify what helped.
5. Neglecting underlay—or applying it indiscriminately
Underlay is the supporting stitching beneath the visible embroidery. Its type and amount should suit the object’s shape, size, cover stitch and fabric.
Common choices include center run for narrow columns, edge run for larger shapes such as letters, zigzag for wider columns, and open tatami underlay for large filled areas. Larger objects and stretchy fabrics generally require different support from small objects on firm materials. Some intentional open effects may need underlay reduced or omitted. Hatch’s automatic underlay guidance
How to avoid this mistake: review underlay object by object rather than switching the same setting on everywhere. Inspect the sample for support, shape and visible underlay at the edges. If underlay shows, investigate its placement and the interaction with cover stitches and fabric pull before increasing top-stitch density.
What buyers should provide before digitizing
Whether you order embroidery in the US, Canada or the UK, clear production details help the digitizer and embroiderer work toward the same result. Send:
The artwork and the details that must remain recognizable.
Finished width and height, with units stated explicitly in inches or millimeters.
Garment type, fabric details and embroidery placement.
Machine model and the file format requested by the embroiderer.
Thread color references and any planned variations in size or fabric.
If you are commissioning a file, review DigitEMB’s embroidery digitizing services and include these details in your enquiry. Ask how artwork changes and sample feedback will be handled before proceeding.
Check a sew-out before production
Use the sample to review all five areas together: stitch choice, fabric behavior, sequence, coverage and underlay. Inspect the front and back, then assess the embroidery after removing it from the hoop.
Record the file version, finished dimensions, fabric, stabilizer, thread and machine settings alongside the sample. Photograph any problem area and describe where it occurs. Specific feedback gives the digitizer and machine operator a clearer starting point than a general request to improve quality.
Frequently asked questions
Is puckering always a digitizing mistake?
No. Density and compensation may contribute, but tension, stabilizer, hooping and the needle/thread/fabric combination also need checking. Start with the actual production setup before requesting a file revision. Brother’s troubleshooting guidance
Can the same design be used on different fabrics?
The artwork can be reused, but its stitch settings may need adjustment. Tell the digitizer whenever the material changes so density, underlay and compensation can be reviewed. Wilcom’s fabric-setting guidance
What should I send when requesting a correction?
Send the exact file version, intended dimensions, garment and fabric details, and clear photographs of the front and back of the sew-out. Identify the affected area and include the stabilizer, thread and machine setup used for the test.