Adobe Illustrator is one of the most effective and efficient software that helps you to convert simple images into vector.
If you have any image, either in a sketch or digital, and want to convert it into a high-resolution vector image for all your screen printing needs, Adobe Illustrator is one of the best options that helps you to convert your image into vector.
This beginner’s guide will help you to convert simple image into vector.
Open Adobe Illustrator
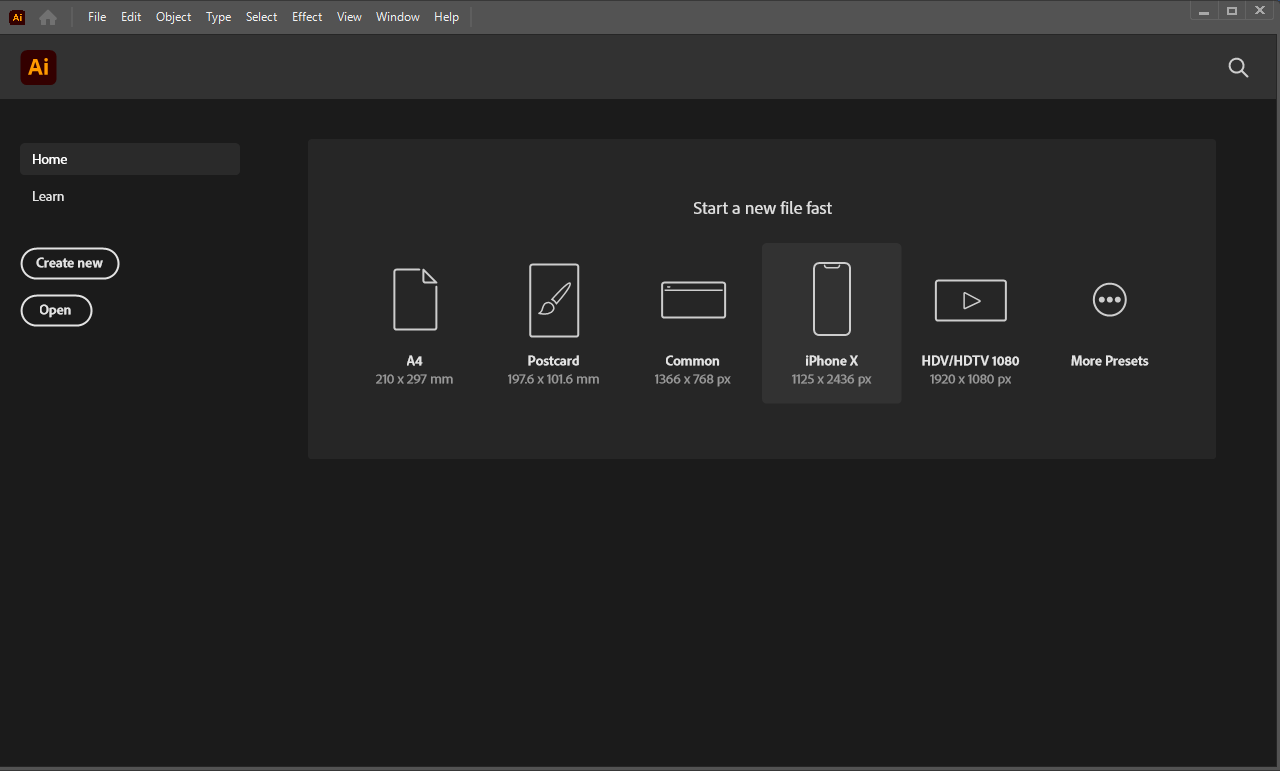
Launch Adobe Illustrator from your computer by double-clicking on its icon.
Upload and Embed an Image
Go to the “File” option and click open.
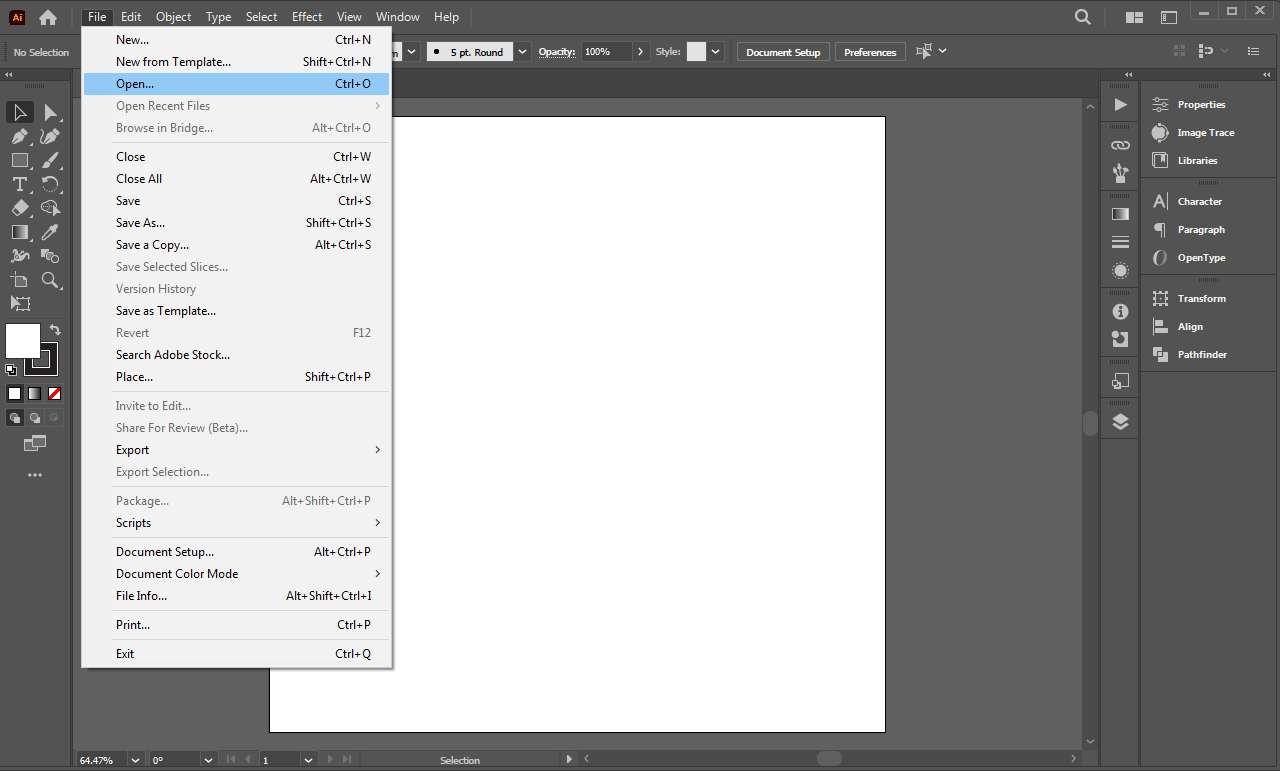
Search and Locate: Explore the required file which you want to convert, Select and open the image from your device.
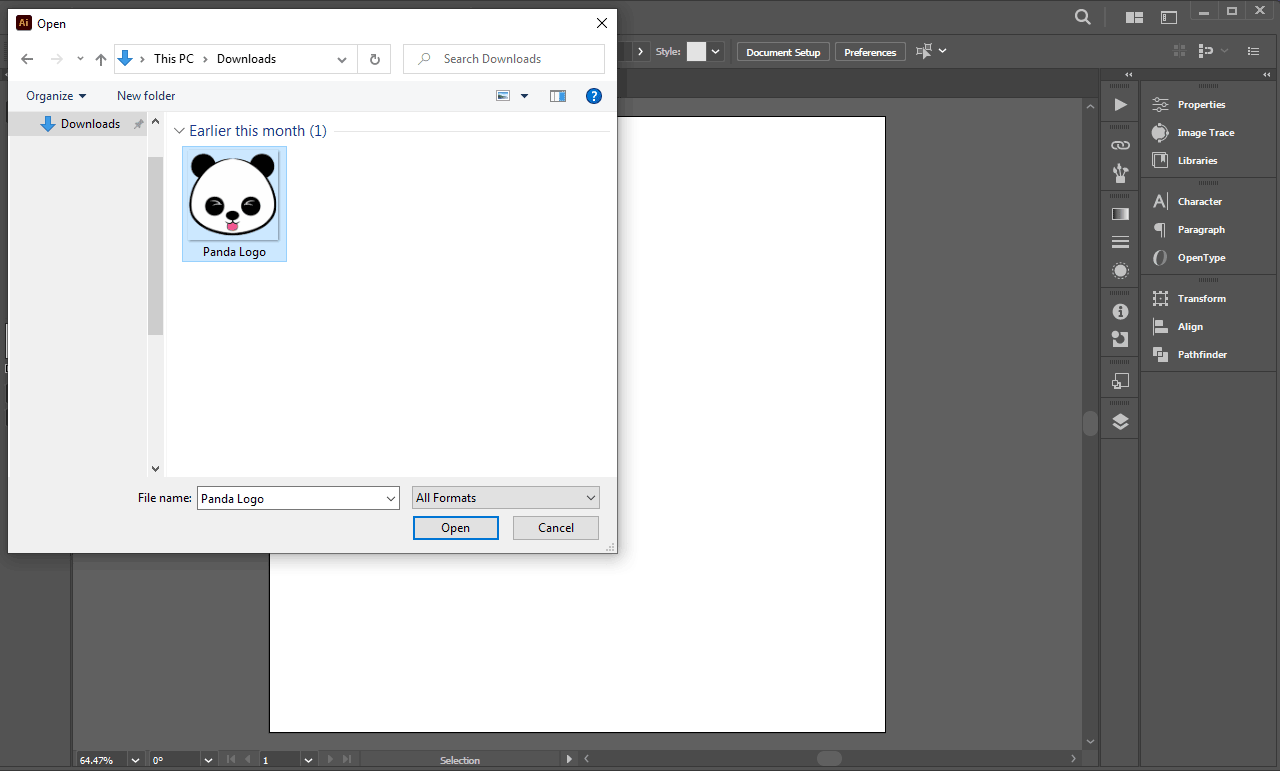
Click the ‘embed’ button on the selected image.
What is Embed Image in Adobe Illustrator?
Embed image allows you to transfer the Illustrator file to other devices without worrying about missing images or source files. Even if you delete or relocate an image from your computer, you can still view it in Illustrator.
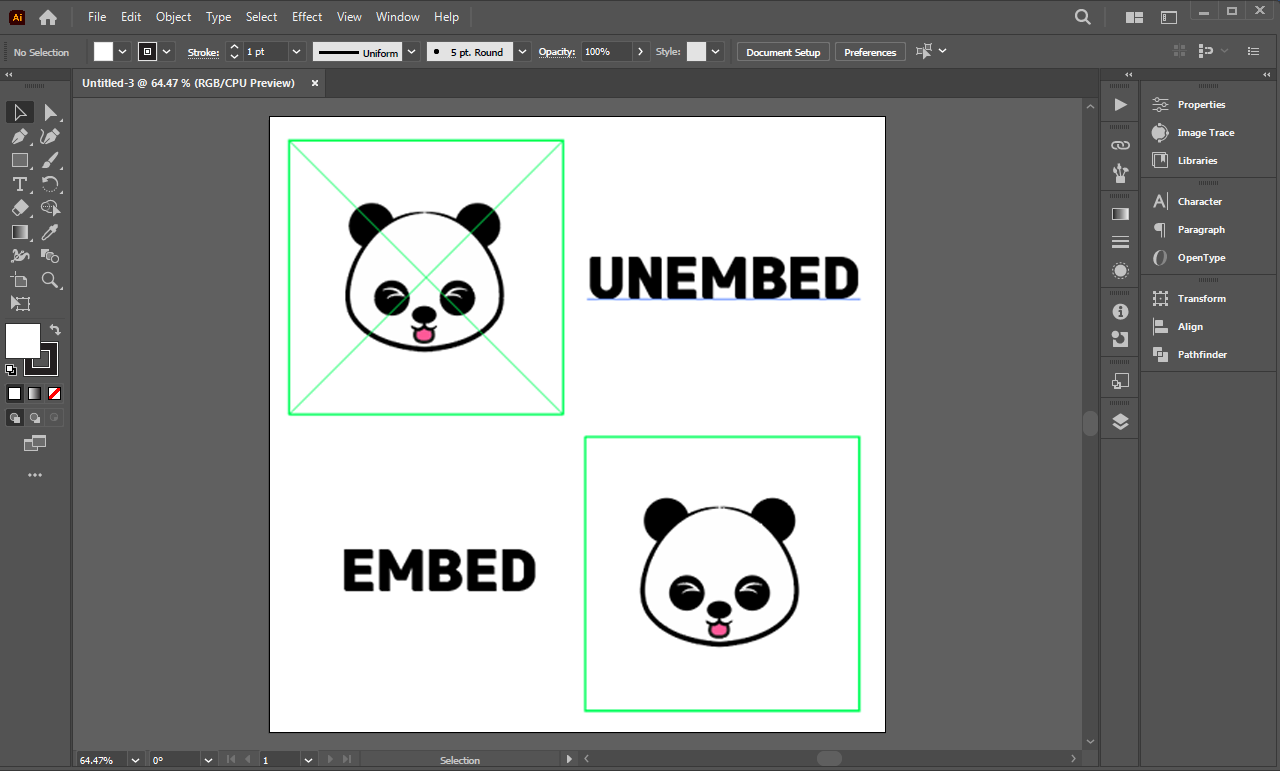
The above image shows the difference between embedded and un-embed images; when you embed the image, the two cross line on the image will disappear.
Layering an Image
Do you remember your childhood days when you hand-traced your comic images with the help of butter paper? Yeah, that’s right! Layering an image during vector tracing works the same because when you make layers of your image, the first layer gets locked, and the second layer works as a ‘Butter paper’.
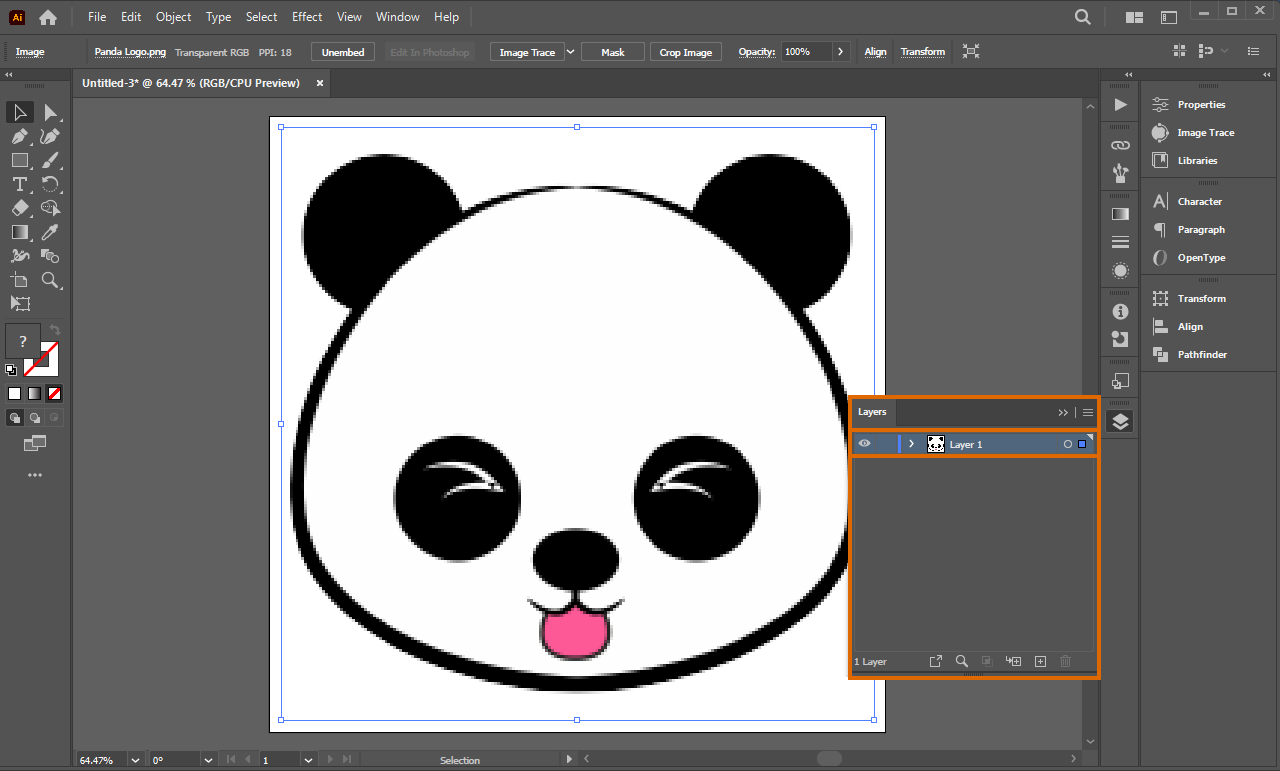
In the “Layers” panel (usually found on the right side), click on the “Create New Layer” button to create a new layer.

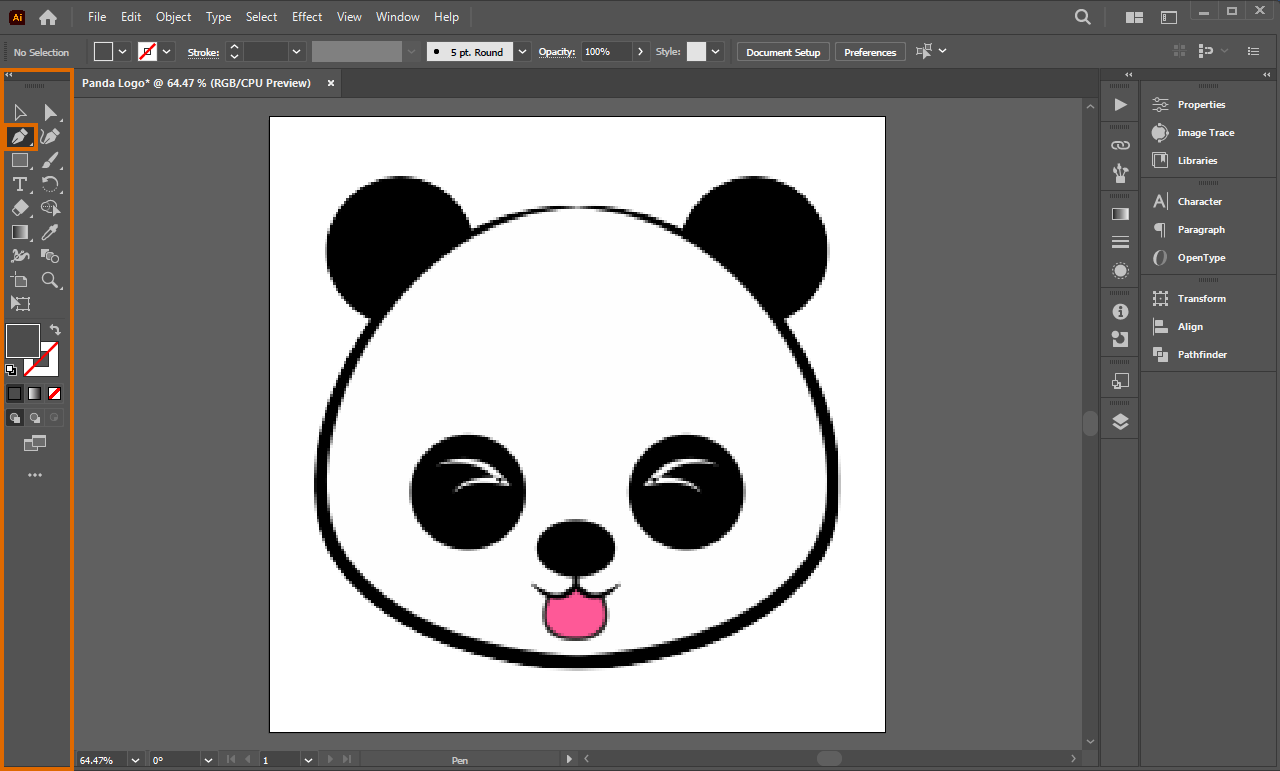
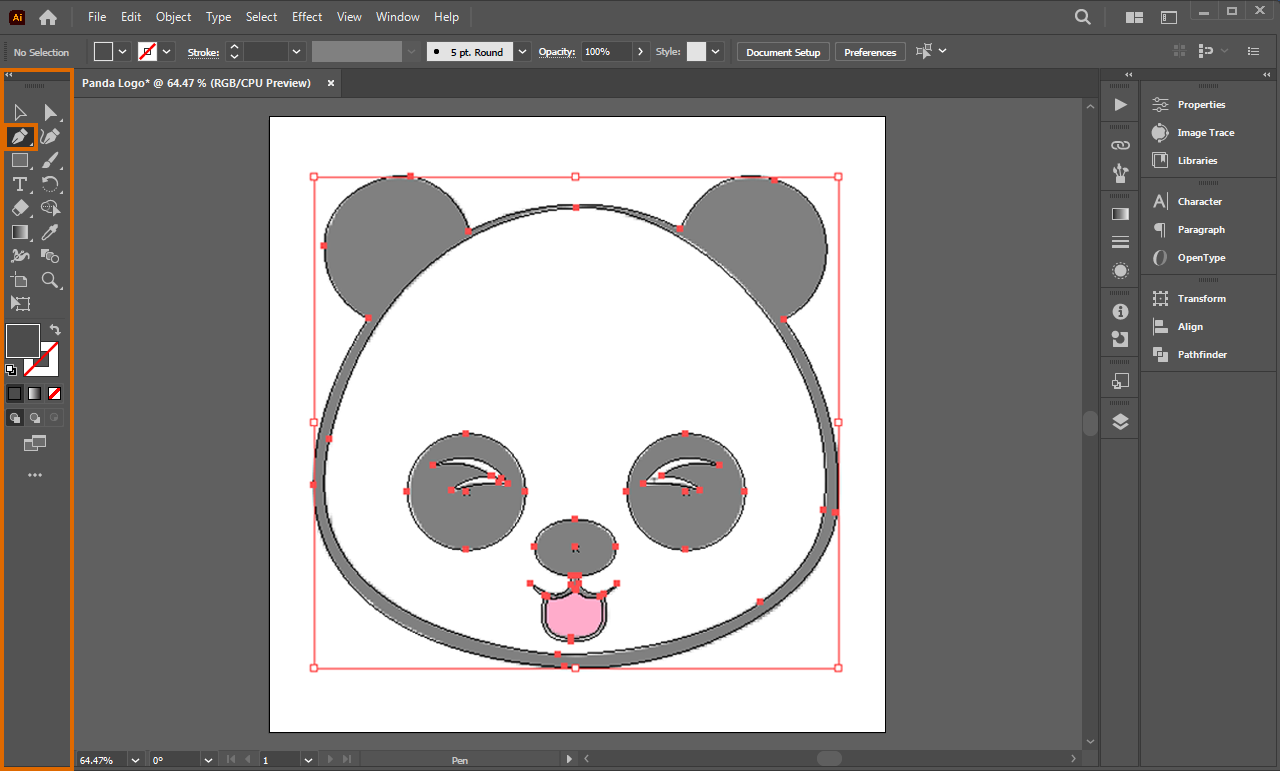
Start Tracing an Image
Select the “pen tool” from the toolbar on the left side.
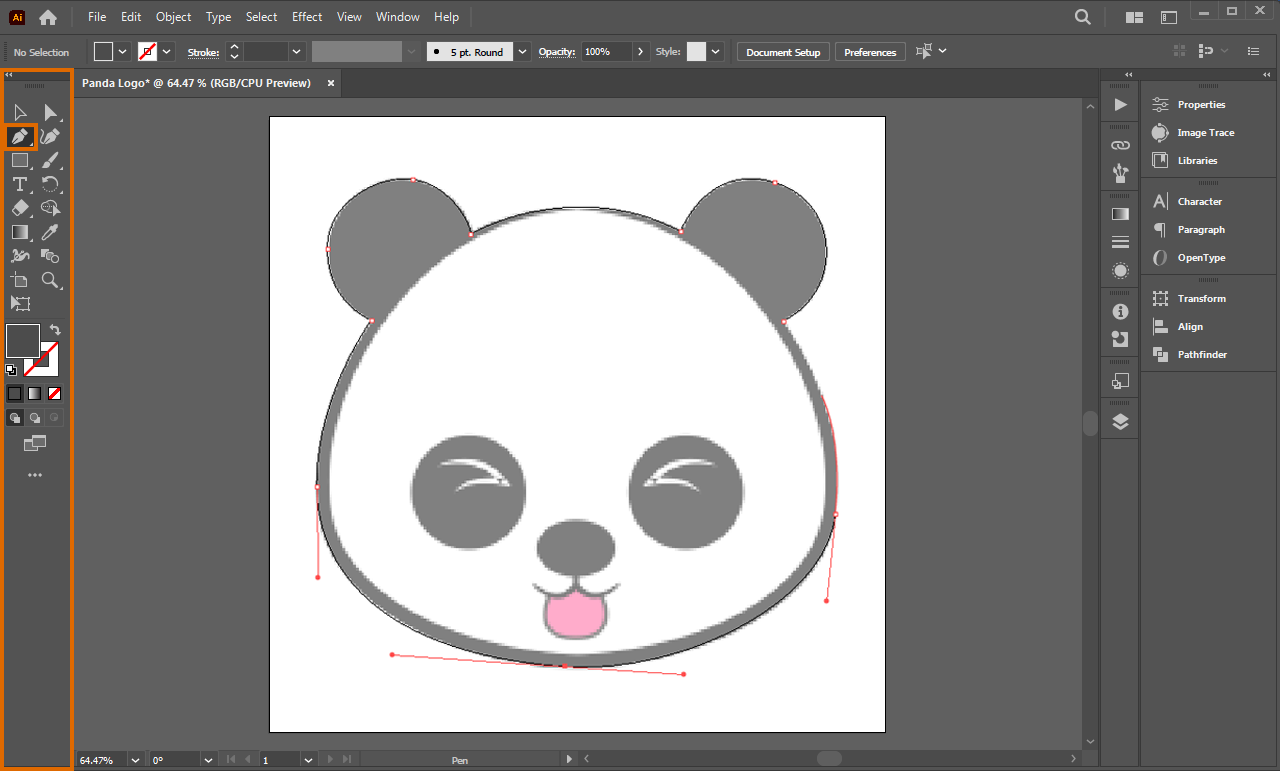
After selecting the paths, the complete traced image should look like this.
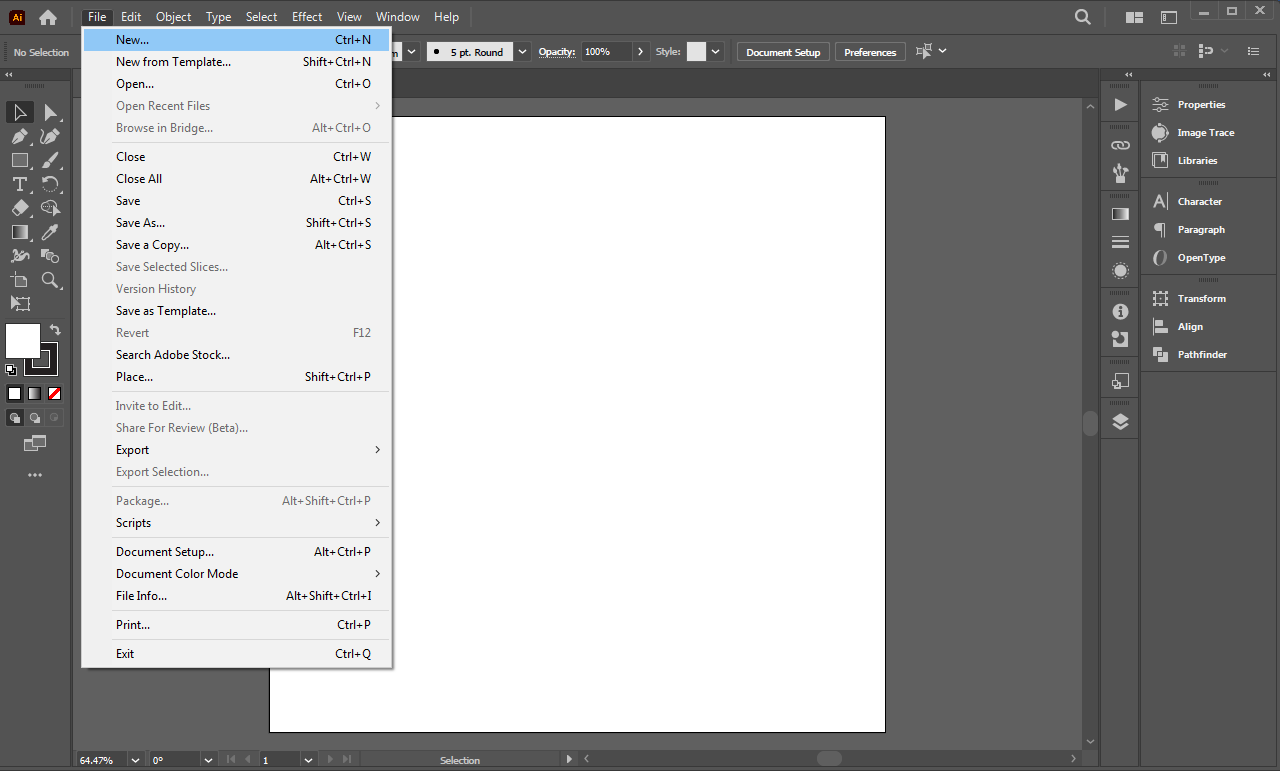
Setting Up the Artboard
Go to the “File” menu at the top left corner and select “New” to create a new document.
Three Steps to Setting Up the Preset Details
You can set the dimensions and settings for your artboard as per your preference, such as Name, dimension of the artboard, and color mode.
Now follow these three simple steps and see how to set up an artboard.
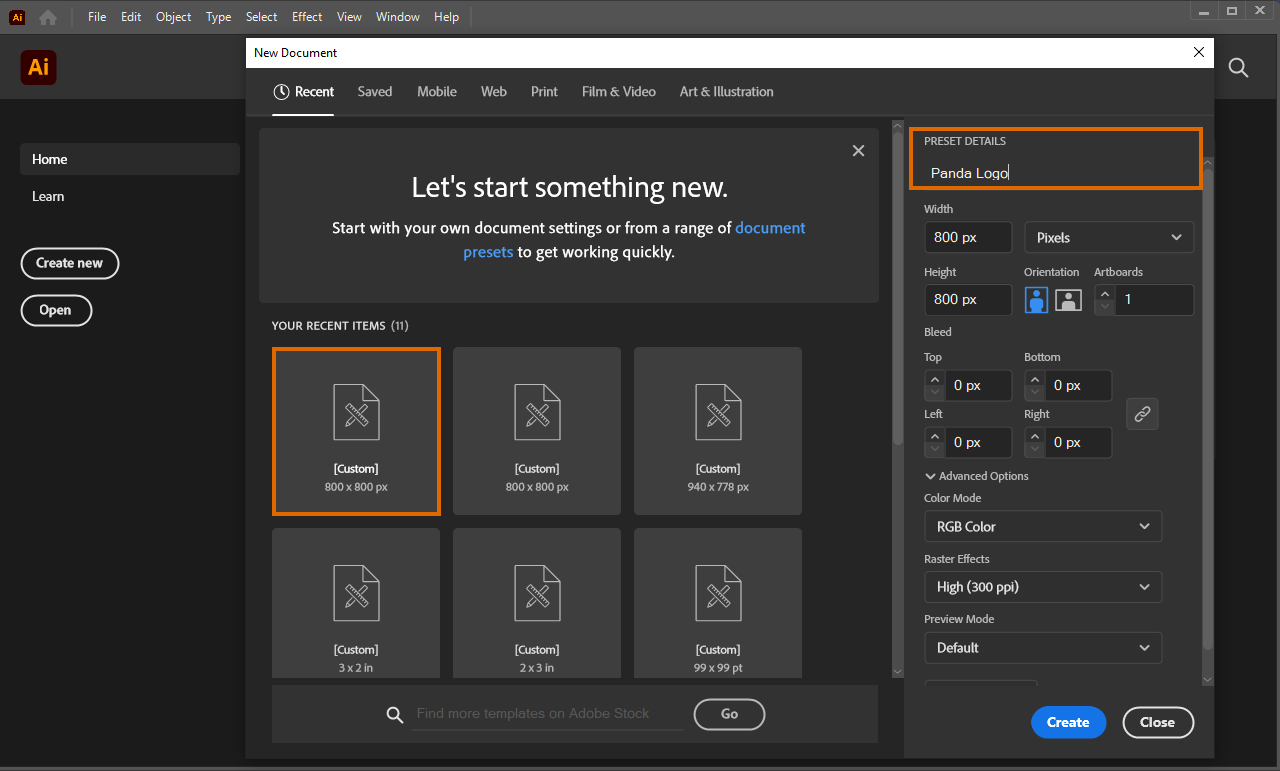
Step 1: Give a name to your File.
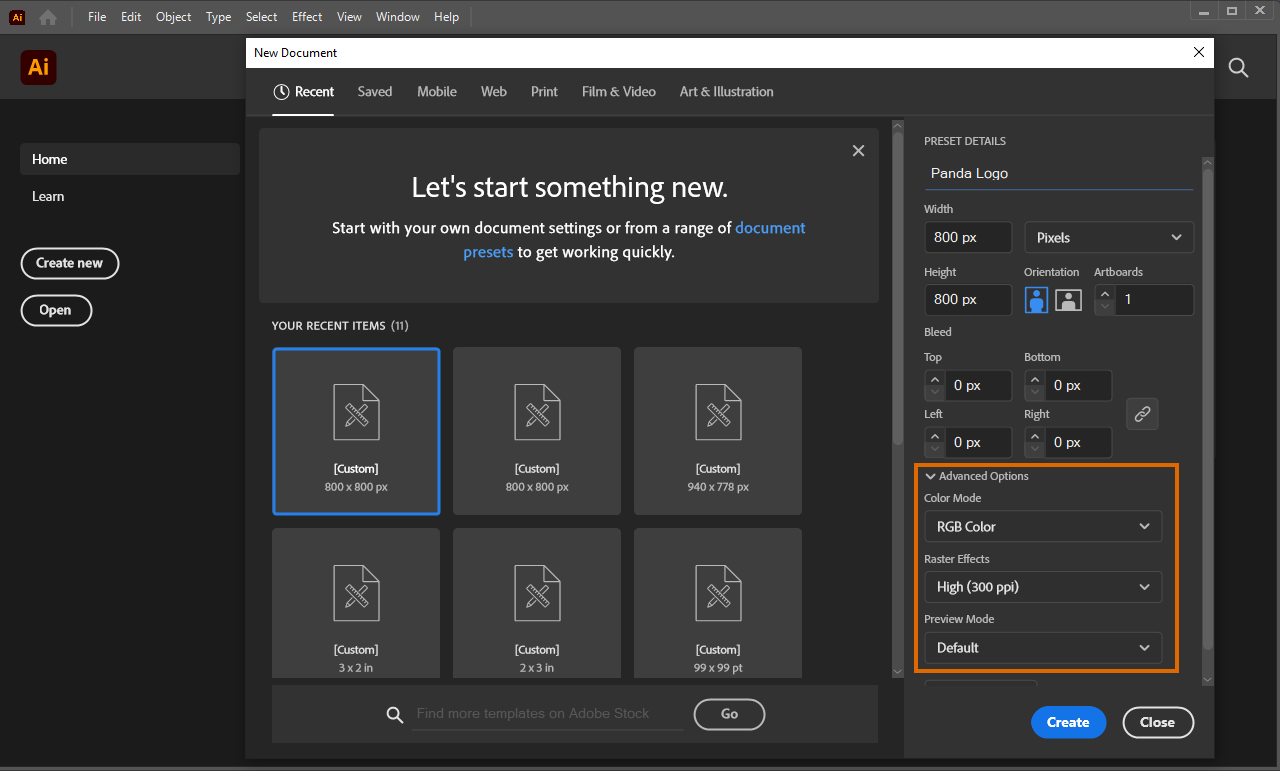
In the first step, Set the name of your file to differentiate and organize it, like here we give it the title ‘Panda logo.’
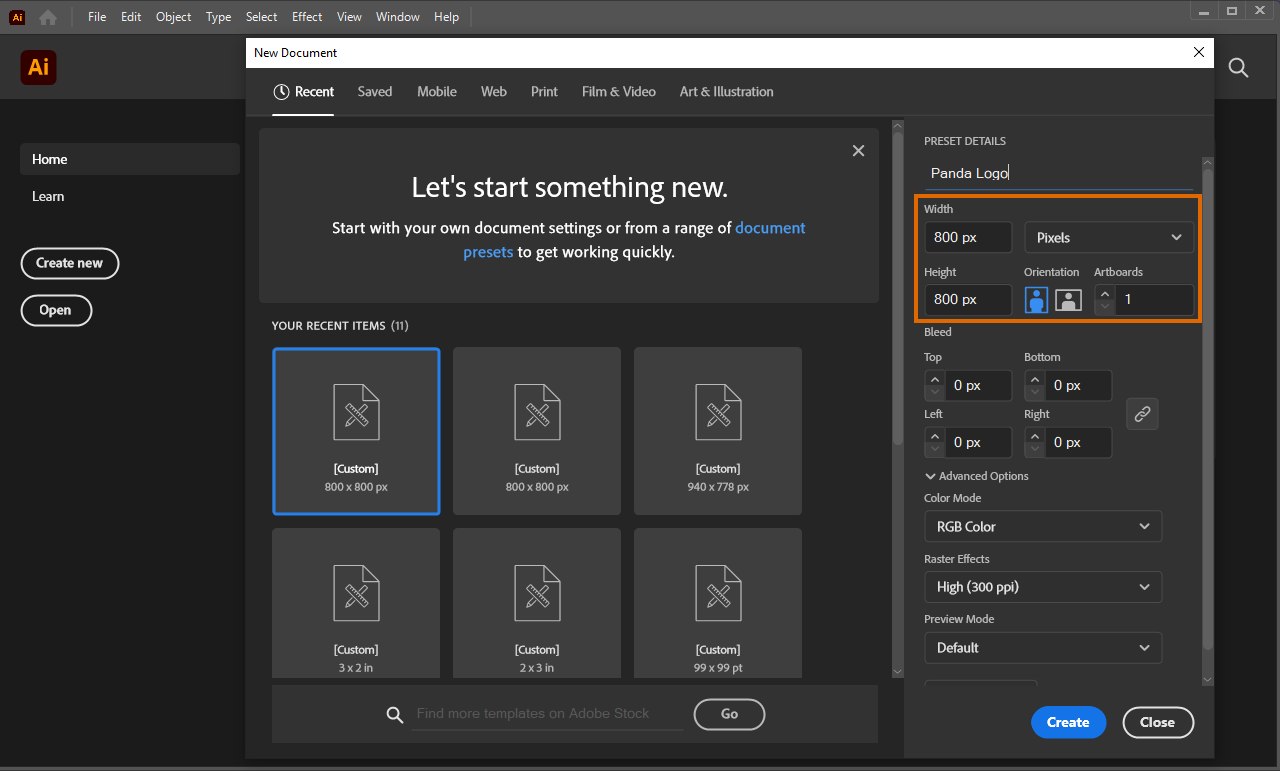
Step 2: Set up the Artboard Dimension and Orientation.
The dimension refers to the height and width of your artboard. After setting up the artboard, you can set your preferred unit into pixels, millimeters, inches, points, etc accordingly.
Similarly, you can select the orientation of your artboard in the required direction, such as portrait and landscape mode.
Portrait Mode: refers to an image or visual representation with a vertical orientation that is taller than it is wide.
Landscape Mode: it’s a visual representation of an artboard with a horizontal orientation that is wider than it is tall.
Step 3: Setting the Color Mode and PPI with Advanced Options.
From advanced preset options, set the color mode of your image/artboard.
RGB – Red, Green, and Blue is used for digital screens and images, you can set up an image in RGB mode if you want to use it on digital screens.
CMYK – Cyan, Magenta, Yellow, Key/Black is used for print materials. You can set up an image in CMYK mode if you want to use it for printing purposes.
PPI – Pixels Per Inch refers to the number of pixels contained within each inch of an image. The higher the PPI, the high-resolution image will be generated.
Useful Shortcuts for Adobe Illustrator
| Action | Windows | MacOS |
|---|---|---|
| Add New Layer | Ctrl + L | Cmd + L |
| Add New Sublayer | Ctrl + Alt + L | Cmd + Option + L |
| Direct Selection Tool | A | A |
| Ellipse Tool | L | L |
| Eyedropper Tool | I | I |
| Pentool | P | P |
| Pathfinder | Shift + Ctrl + F9 | Cmd + Shift + F9 |
| Rectangle Tool | M | M |
| Release Compound Path | Ctrl + Shift + Alt + 8 | Shift + Cmd + Alt + 8 |
| Selection Tool | V | V |
| Save Your File | Ctrl + S | Cmd + S |
| Zoom In | Ctrl + + | Cmd + + |
| Zoom Out | Ctrl + - | Cmd + - |
Conclusion
Vector conversion plays a critical part in the printing process – from digital images to screen printing purposes. Don’t be afraid to follow these steps a go yourself. They’ll help you to convert simple images into vectors that you can proudly share with the world – even if you haven’t had any prior experience.
Adobe Illustrator is your go-to way to convert an image into a high-quality vector image for screen printing. Adobe Illustrator is a highly effective and efficient software with excellent tools and features to help you easily convert your simple image into a vector format.